Pack and Prepare the Skycat Phantom 4 Drone Parachute Launcher
This guide will help you pack and prepare the Skycat Phantom 4 Drone Parachute Launcher. You can purchase the Phantom 4 Drone Parachute with SATS-MINI Failsafe here. Before, complete the initial folding of the Iris parachute. Refer to How to Fold a Parachute. Follow this guide up to the beginning of Step 4, stopping after "fold the parachute canopy into thirds to create a long rectangle shape." Also, first assemble the Phantom 4 Launcher.
-
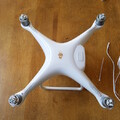 Step 1 - Install the HarnessesWe start with a P4, the two short harnesses and a wire tie.
 -
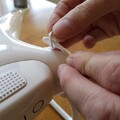 Step 2 - Hook HarnessesHook each of the harnesses by taking one end through the loop on the other then drawing it tight. Hook around apposing corners of either side of center. Wrap the harness inside the landing gear.
 -
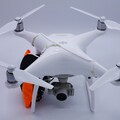 Step 3This shows the final harness connections. Use a wire ties at the center to hold the harnesses at the center.
 -
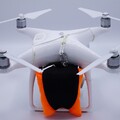 Step 4Another view showing the harnesses and how they will connect to the parachute once installed.
 -
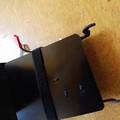 Step 5 - Strap Down Flip BoardNow use the Velcro strap to pull down the flip plate to make loading easier. Tighten the strap so its pulled within one inch of the carbon fiber mount plate. This shows the flip-plate side.
 -
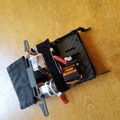 Step 6This shows the strap on the component side. Be careful to not damage any of the components.
 -
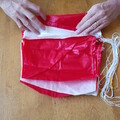 Step 7 - Prepare and Fold ParachuteNow prepare the parachute. First un-tape the lines and stretch out the parachute lines. Unfold the panels on the parachute. Do not completely open up the parachute. You can find out how to do the initial folding of the Iris parachute here: https://fruitychutes.com/help_for_parachutes/drone-parachute-tutorials/how-to-fold-a-parachute Follow the guide up to step 22.
 -
-
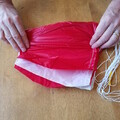
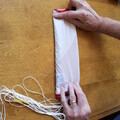 Step 9Continue to fold over the sides toward the center until you have a rectangle the same width as the flip board. While doing this do not tangle the shroud lines.
 -
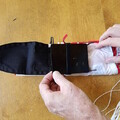 Step 10This shows the parachute at the same same width of the launcher flip board. It's okay if it's perhaps 1/2" wider or so.
 -
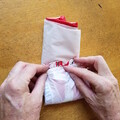
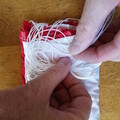 Step 11Now Z-Fold the shroud lines back and forth the width of the shroud lines at the base of the parachute. Do not roll the lines!
 -
-
-
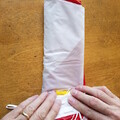
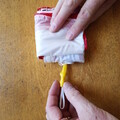 Step 14 - Fold ParachuteFold 2 or 3 times so the folded parachute size is the same size as the flip board. The chute bridle should come out the side of the parachute.
 -
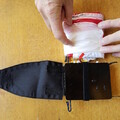 Step 15 - Check SizeVerify the folded parachute is the same size as the flip board.
 -
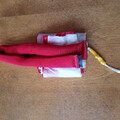 Step 16Put a weight on the parachute to keep it folded. I'm using a parachute rigger weight here, but you can use whatever you want!
 -
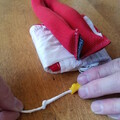
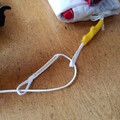 Step 17 - Connect Shock CordNow hook the 2 yard Spectra shock cord to the parachute bridle attachment loop.
 -
-
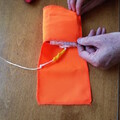
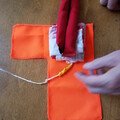 Step 19 - Put Parachute In LinerTo protect the parachute, it is wrapped in a protective liner. Put the chute in the corner.
 -
-
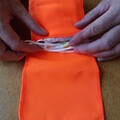 Step 21 - Z-Fold Main Shock CordThen Z-Fold the shock cord and place it against the side of the parachute.
 -
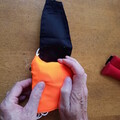
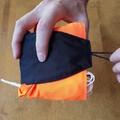
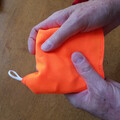 Step 22 - Wrap the ParachuteWrap over the long side of the liner around the parachute. Leave the end loop of the shock cord sticking out to connect later.
 -
-
-
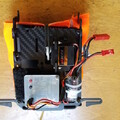 Step 25 - Connect to ServoHook the loop over the servo arm. Make sure the servo is in the hold position.
 -
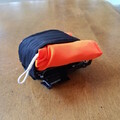 Step 26 - Parachute InstalledThe parachute is not installed in the launcher. Note that the shock cord loop exits on the top left side of the launcher.
 -
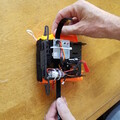
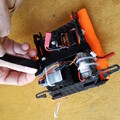 Step 27 - Remove Velcro StrapRemove the Velcro strap now holding down the flip board.
 -
-
-
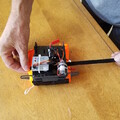
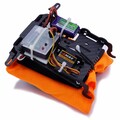 Step 30Here is where we recommend putting the Mayday and the Battery. Note the wedge on the back of the Mayday. This keeps the Mayday exactly vertical once installed on the Phantom.
 -
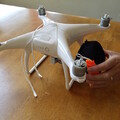 Step 31 - Snap in LauncherInstall the launcher on the left side of the P4 so it does not block the micro-sd and USB ports on the other side. To install first position the top "ears" of the launcher behind the landing gear legs of the P4. NOTE: The harnesses are not shorter and cut to length.
 -
-
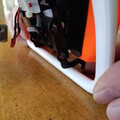
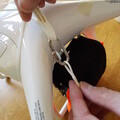 Step 33 - Complete InstallationUse the quick link to connect the shock cord loop to each of the harness ends.
 -
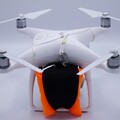 Step 34 - DoneA view of the completed installation. You may want to add a couple of pieced of tape to the harnesses to make sure they do not get into the rotor blades.
