Next: Mavic 2 Bundle Guide
Pack and Load the Harrier Drone Parachute Launcher
This guide will help you pack and prepare the Harrier Drone Parachute Launcher. Before starting, make sure you have done the initial folding of the Iris parachute. Refer to How to Fold a Parachute. Follow this guide up to the beginning of Step 4, stopping after “fold the parachute canopy into thirds to create a long rectangle shape.”
You can purchase the Harrier Launcher here!
This video tutorial below shows how to pack the drone parachute launcher.
IMPORTANT for 50 mm and 56 mm Harrier Launchers: The Pictorial below is specific to the Harrier 40 mm launcher. All the Harrier launchers use Steps 2 - 4 for arming the launcher; however, after this, packing the chute into the launcher is done like the Skycat launcher. See the pictorial Pack and load the Skycat Drone Parachute Launcher for steps 12 - 44 of this guide to complete the packing.
-
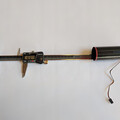
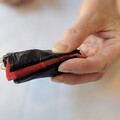
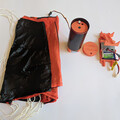 Step 1This is the IFC-30-SUL parachute we will pack and the Harrier components. Before you start pre-fold the parachute so the canopy is properly organized. See How to pack an Iris Parachute. Follow the steps up to Step 22. https://fruitychutes.com/help_for_parachutes/drone-parachute-tutorials//how-to-fold-a-parachute
 -
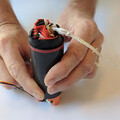
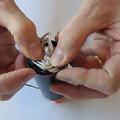
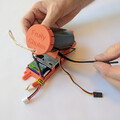
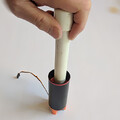 Step 2First make sure the servo arm is in the catch position for the piston. Rotate the servo arm to the position shown above.
 -
-
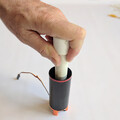
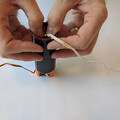
 Step 4You will hear a "click" once the piston is set. If it won't set, check that the servo arm is properly positioned so the catch plate is all the way toward the center mount.
 -
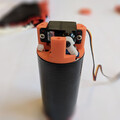
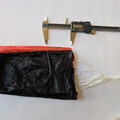
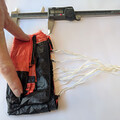
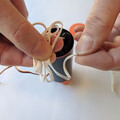
 Step 5Use a ruler or calipers to measure the packing depth of the canister. We will fold and prepare the parachute to fit into this length.
 -
-
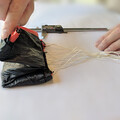
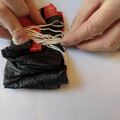
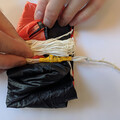
 Step 7Divide the chute into sections across the length of the parachute equal to the packing length. The parachute canopy will be Z-folded to this length.
 -
-
-
-
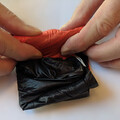
 Step 11With the lines z-folded in the center roll the z-folded canopy around the lines.
 -
-
-
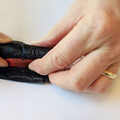
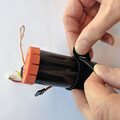
 Step 14This shows the folded canopy. The diameter should be just a bit smaller than the canister's inner diameter.
 -
-
 Step 16Push down the parachute so it is below the lip of the canister. The canister length is cut so you should have about 1/4" to 1/2" of clearance.
 -

-
-
 Step 19Now fold over the z-folded shock cord and place on top of the parachute. Again push into the canister to pack everything.
 -
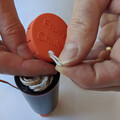 Step 20Thread the shock cord through the cap and place the cap on top of the canister.
 -
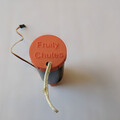 Step 21Done with the launch tube! But, the Harrier is not quite ready for flight!
 -
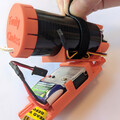
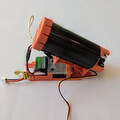 Step 22If you have the Harrier Integrated Flight Mount place the launcher into the cradle. Be sure the back of the Harrier is locked against the back of the cradle.
 -
-
 Step 24We like to secure part of the servo wire under the strap since it can be pretty long.
 -
-
-
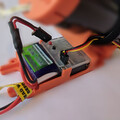
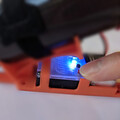
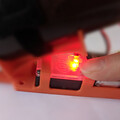
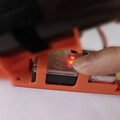
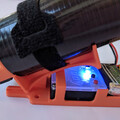
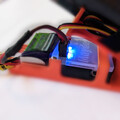 Step 27Plug power into the Mayday. Be sure to review the Mayday users guide to calibrate the Mayday failsafe and to setup the servo positions.
 -
-
-
-


Next: Mavic 2 Bundle Guide