Using the Mini Rigger Jig
This guide will help you use the Mini Rigger Jig. The Mini Rigger Jig is ideal for Iris compact and ultra compact chutes from 30" to 60" in size. The Mini Rigger Jig is a smaller version the our wooden Rigger Jig shown in the tutorial How to Fold a Parachute. Mini Jig can be used the same way as our larger version.
-
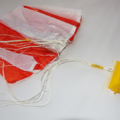
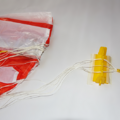
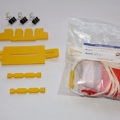 Step 1In this tutorial we'll learn how to use the Mini Rigger Jig. The small jig is used the exact same way as our larger wooden Rigger Jig. On the left are the components included with each jig. We have three paper clips, jig teeth, jig base, and two line lock combs. On the right is a parachute (not included) which we will use to demonstrate how the jig works.
 -
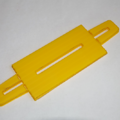
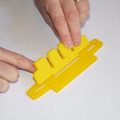
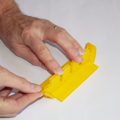
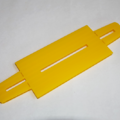 Step 2Shown is the Rigger Jig top side. Notice that the laser cuts are nice and crisp.
 -
-
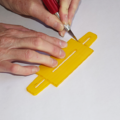
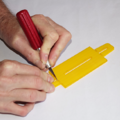
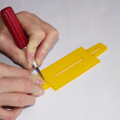
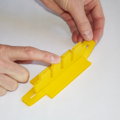
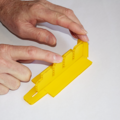
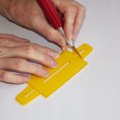 Step 4Use a sharp knife and carefully complete the cuts on the back side. This will allow the base ears to fold up once turned over.
 -
-
-
-
-
-
-
-

-
 Step 13Loading the chute shroud lines into the Jig slots: Before you start tape the jig to a table top using masking tape.
 -
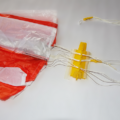
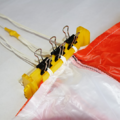
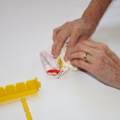
 Step 14Look at the bridle and note we have the left bundle of lines, the center pull down and the right bundle of lines. Drop these into the slots on the jig as shown.
 -
 Step 15Pull the lines through the slots until the skirt of the canopy is touching the Jig. You will need to lift the center pull down joint over the slot since it will not fit otherwise.
 -
 Step 16The chute is now in the proper position so the gores can be flaked folded. Next is to lock the lines in place.
 -
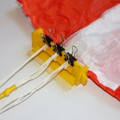
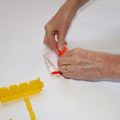
 Step 17Now place one of the combs on top of the lines opposite the chute, then fold over the lines toward the canopy.
 -
 Step 18Use the other comb and fold the lines back over and out. The lines are now "Z" folded over the two combs.
 -
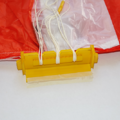
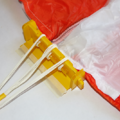
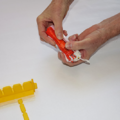
 Step 19Now place the paper clips over the slots and push down to secure the lines in place. This will lock the lines in place so they can not move while flaking the chute gores.
 -
 Step 20The view from the other side. At this point you can follow the directions for "How to fold an Iris Parachute" steps 13 - 23 to flack the gores. https://fruitychutes.com/help_for_parachutes/drone-parachute-tutorials//how-to-fold-a-parachute
 -
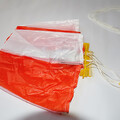
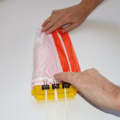
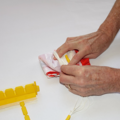
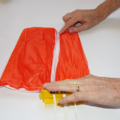 Step 21For the rest of the tutorial we will show you how to prepare the canopy for loading into the Harrier or the Skycat launcher. First fold over the side of the canopy toward the center.
 -
-
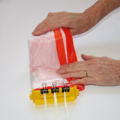 Step 23Z-Fold the canopy so the length of the folded canopy is the same is the canister packing length.
 -
-
-
-
-
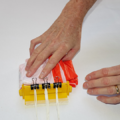
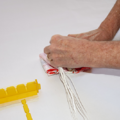
 Step 28Use your fingers to help Z-Fold the lines the exact length as the folded canopy.
 -
-
-
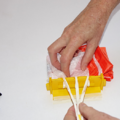
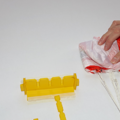
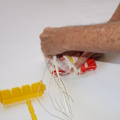
 Step 31Roll tight around the lines to help the canopy fit better in the canister.
 -
 Step 32The canopy is set to load in the Harrier or the Skycat launcher. See each of these launcher's tutorials for specific information on how to load these products.


