How to Patch a Parachute
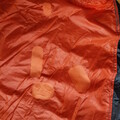
In this tutorial we will show you the simple way to patch a parachute. While our parachutes are incredibly tough and can last hundreds of deployments, they may tear if dragged through a rough environment. This parachute was dragged through cornfield stubble. Patching a torn chute is an easy way to extend its life.
Links to repair tape: https://www.coastwatersports.co.uk/psp-kite-spinnaker-repair-tape-150mm-25m-p-5452.html
https://www.gearaid.com/products/tenacious-tape?variant=28044148753
For more guidance, check out this video where we patch a parachute at 5:53: https://youtu.be/i_qNLbhoV_k
Click here to download the to Patch a Parachute PDF
-
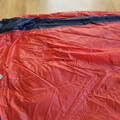 Step 1Go through the chute gores (fabric panels) and check for holes, tears, and snags. Mark the gore with a piece of masking tape in order to keep track of it.
 -
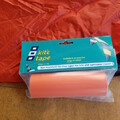 Step 2We like to use Kite Tape brand spinnaker repair tape and Gearaid Tenacious Tape. They come in a wide variety of colors and are made of rip stop nylon with adhesive on the back.
 -
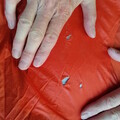
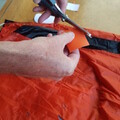
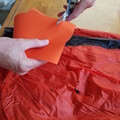 Step 3We will begin by showing you how to repair a set of small holes. First, cut a piece of tape that will cover the holes and some of the area around it.
 -
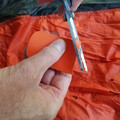 Step 4Round off the corners. Sharp corners sometimes come up after the tape has been applied.
 -
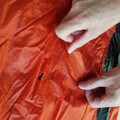
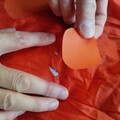
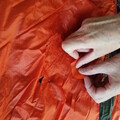 Step 5Peel white paper off the back of the tape. Stick patch on by pressing into middle with thumbs and then pushing outward.
 -
-
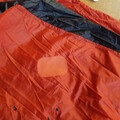
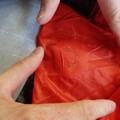
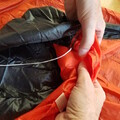 Step 7Flip gore over to see underside. If the holes are pretty tiny there is no need to patch the under side, like in this case.
 -
-
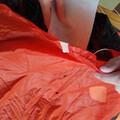
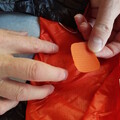
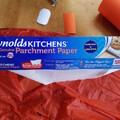 Step 9If the hole is on the bigger side put a layer of parchment paper underneath so that the patch doesn’t get stuck to the under layer.
 -
-
-
-
-
-
-
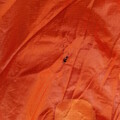 Step 16Turn gore back over. On the left of the patch is the final tear we will demonstrate how to fix.
 -
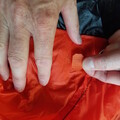
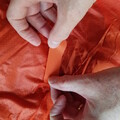 Step 17Since there is a tear with a snag on each side we cut a long strip to cover the area. It is important to patch snags to prevent them from spreading and causing more damage.
 -

-
-
-
